How to install Node Version Manager (NVM) for Windows 10?

Introduction
I had recently purchased a Windows 10 laptop and I wanted to install Node.js. I usually prefer to use a Node Version Manager to install Node.js.
The reason I choose to do that is because I usually have to work with multiple applications that need require different Node.js versions, and using a node version manager (NVM) it is very easy to switch versions.
This article is more of a user guide for folks who are interested to install a Node Version Manager for Windows 10 Operating System.
A Quick Look at the Key Terminologies
I wanted to mention the following terminologies for absolute beginners. So, feel free, to skip this section, if you are already familiar.
nvm - Node Version Manager. It is a tool that allows you to download and install Node.js. It allows you to pick and choose the Node.js version that you wish to use.
Node.js - It is a platform for running JavaScript applications.
npm - Node Package Manager. It is a tool that allows you to install JavaScript packages. npm comes along with Node.js. So, if you have installed Node.js, you'll have npm installed as well.
Installing NVM for Windows 10
Go to the nvm-windows Git Repository
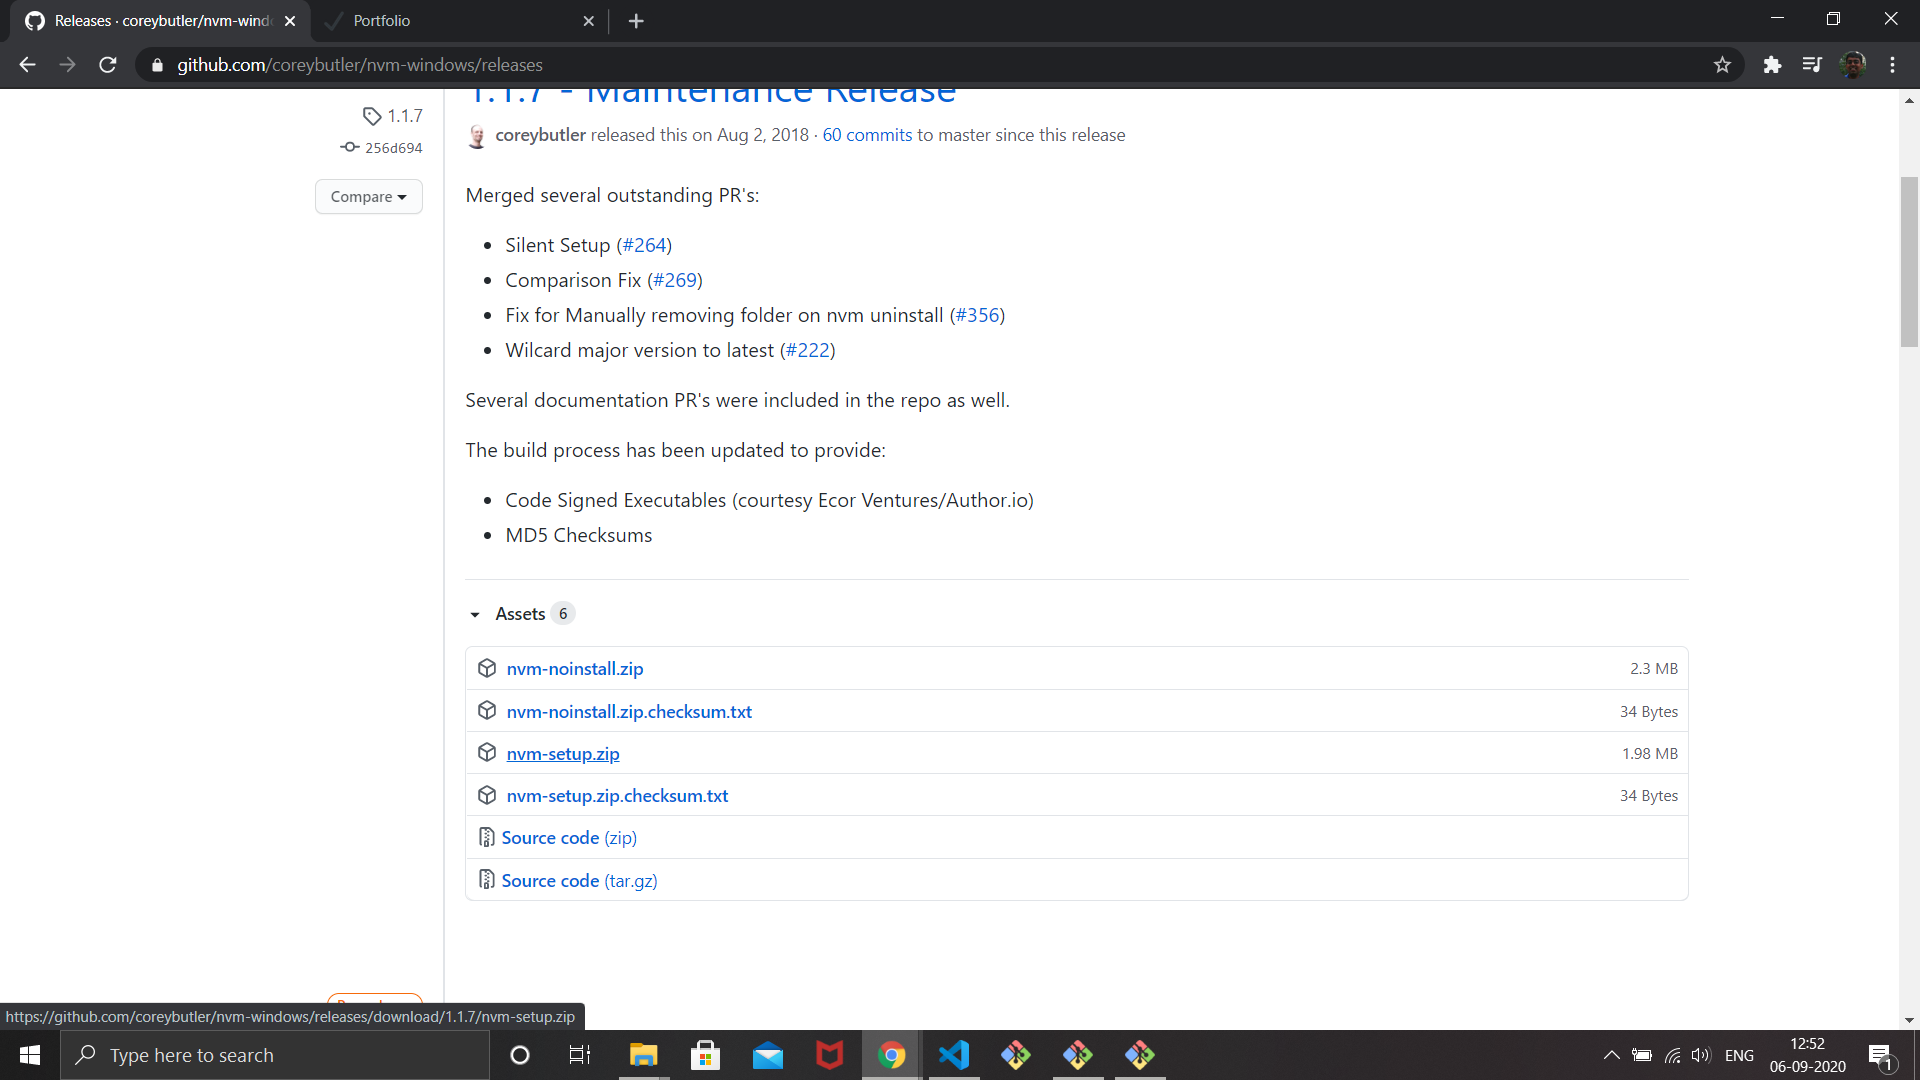
Using your browser navigate to the Git repository for nvm-windows located over here.
Click on the 'nvm-setup.zip' link from the 'assets' table as shown in the image below.
Locate the Zip File & Extract
- The Zip file should have been downloaded to your Downloads folder (or where ever you have configured your downloads to be saved).
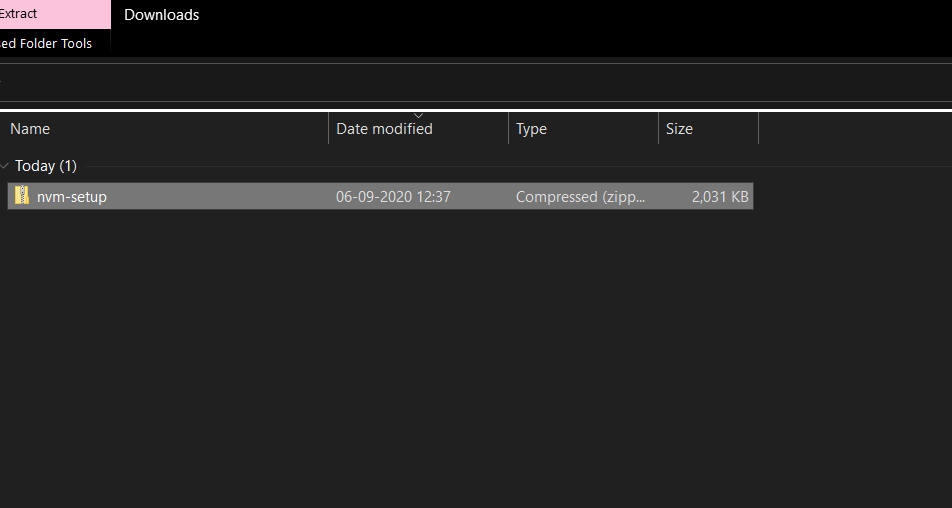
- Unzip/Extract the contents to the same folder.
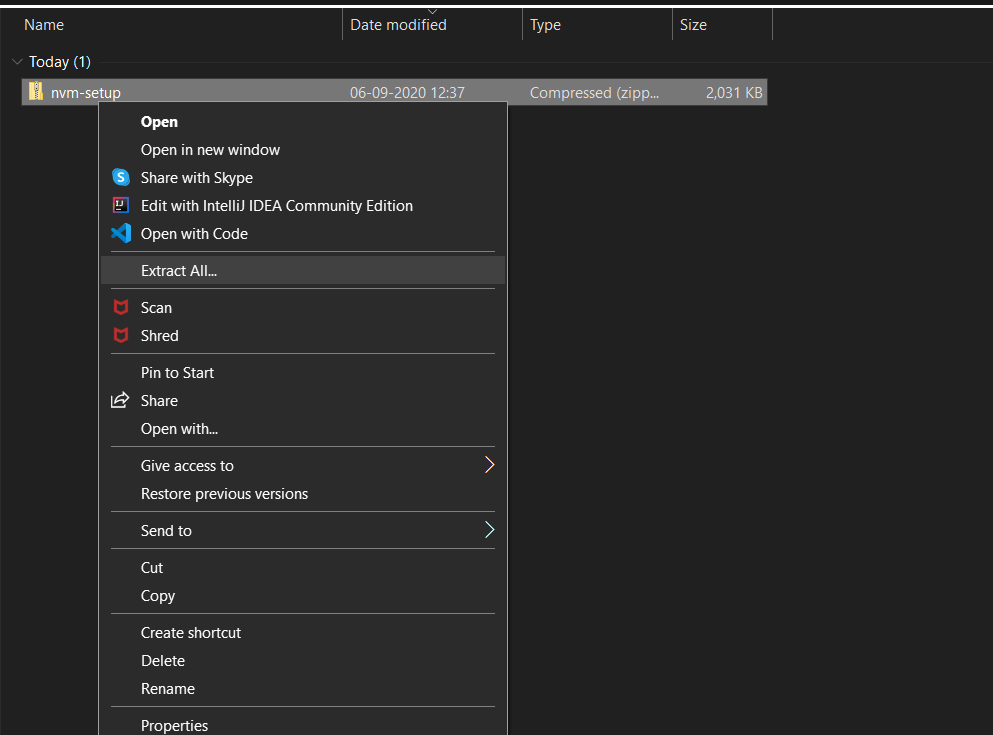
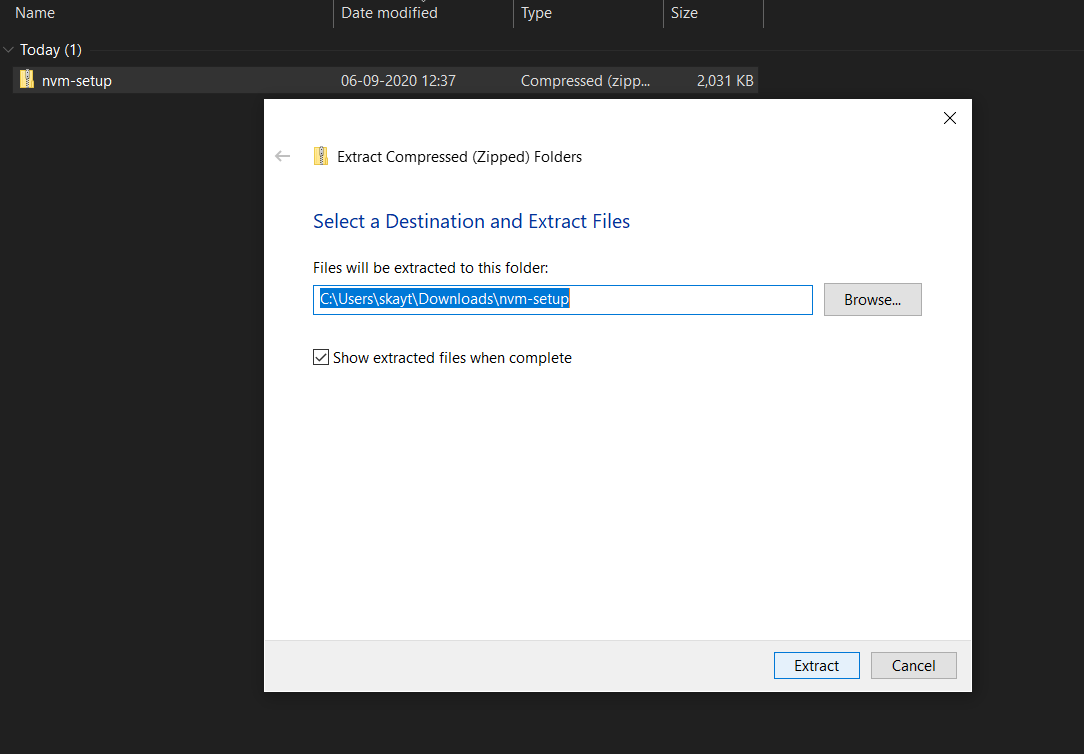
- You should have the file nvm-setup.exe extracted in the same folder.
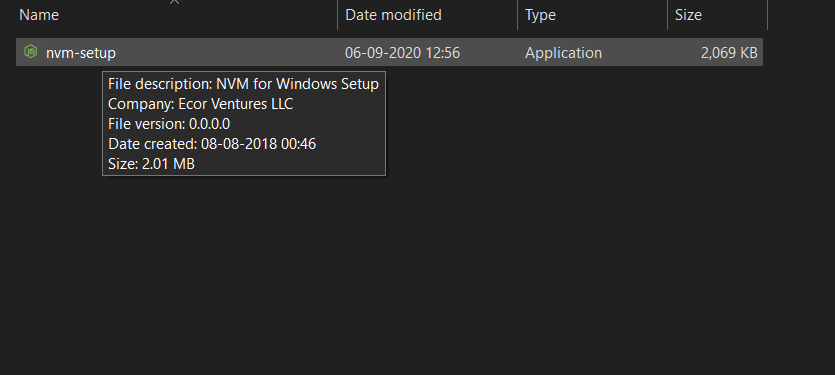
Install NVM
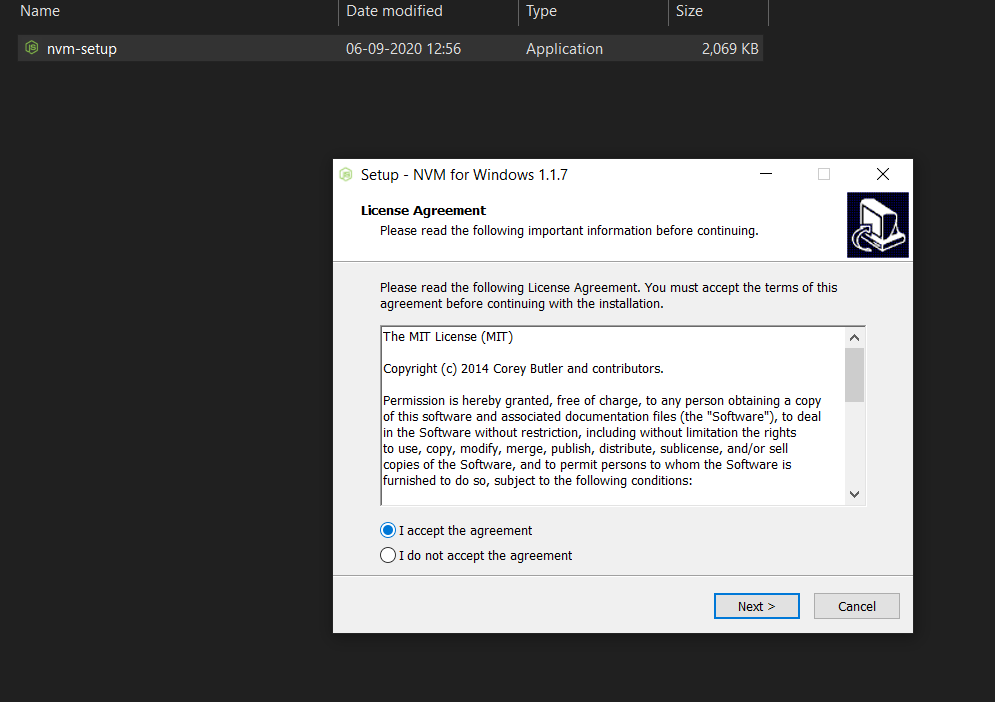
Double-Click on the executable file to launch the installer.
Choose 'I accept the agreement' option.
- Select destination to install.
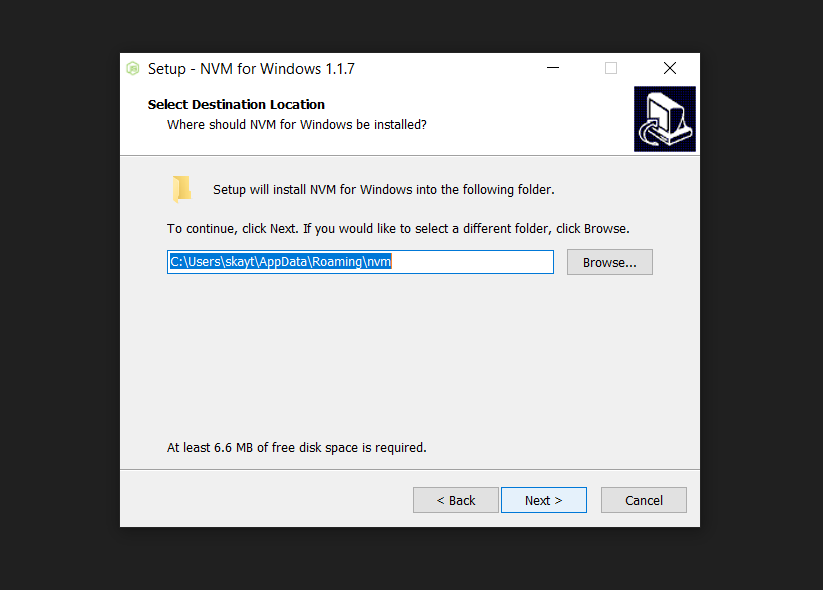
- Select Symlink for Node.js.
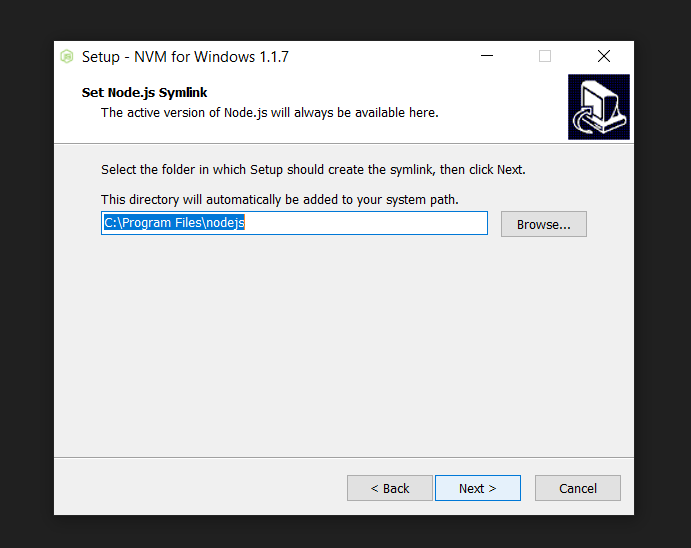
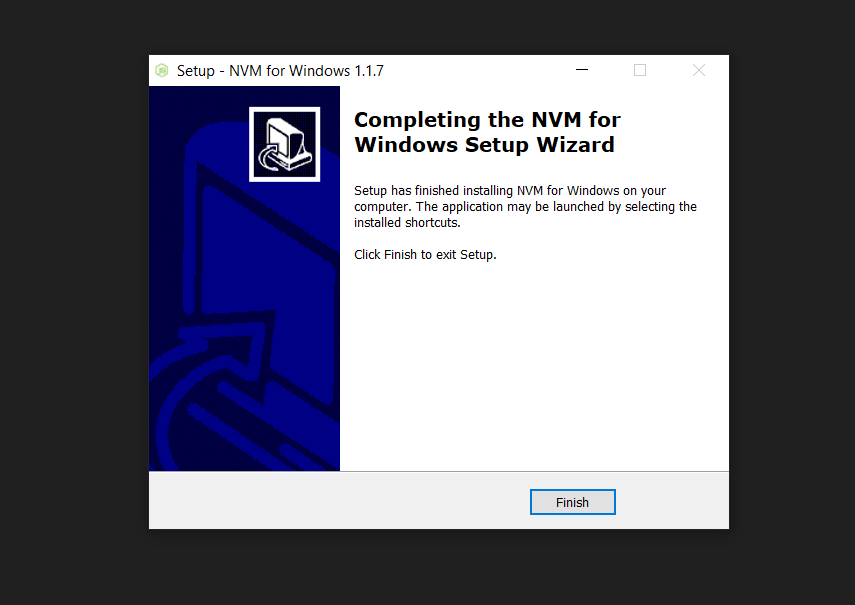
- Click on Install & once it completes, click on the 'Finish' button.

Confirm that the 'NVM' successfully installed
Open your command line terminal
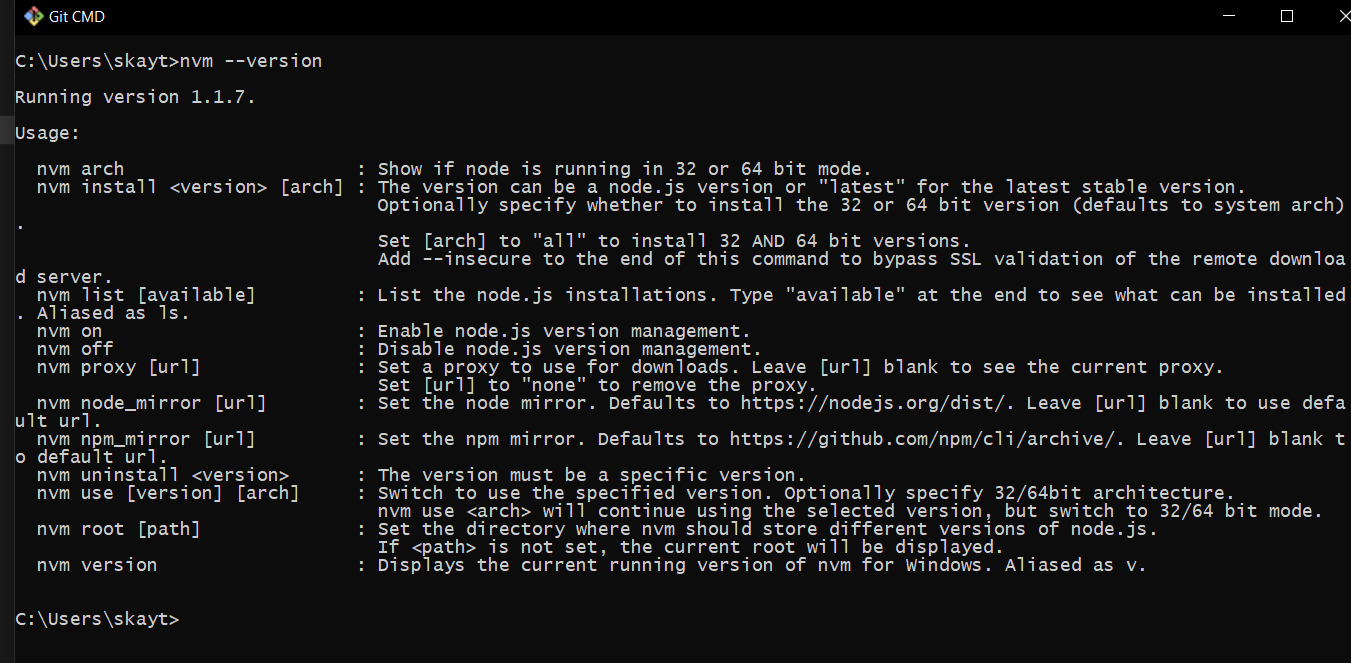
Type the below command to verify if your nvm installation was successful.
$ nvm --version
Install npm
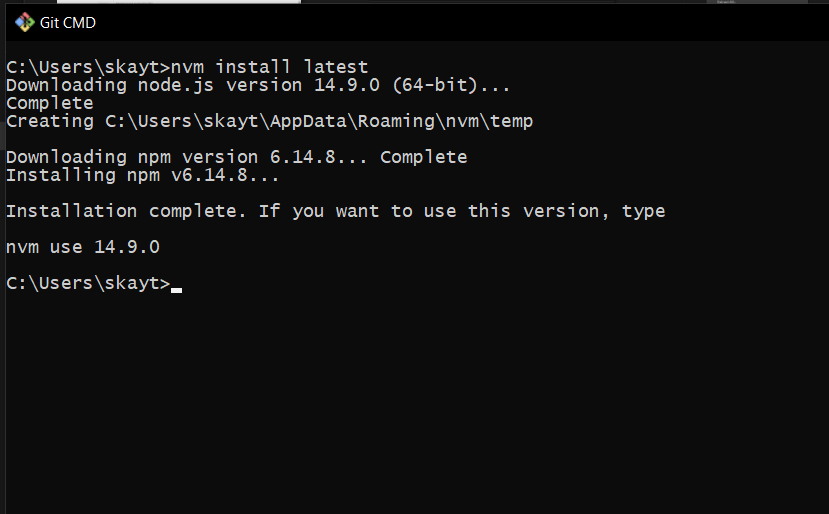
- You can now install 'npm' using the following command.
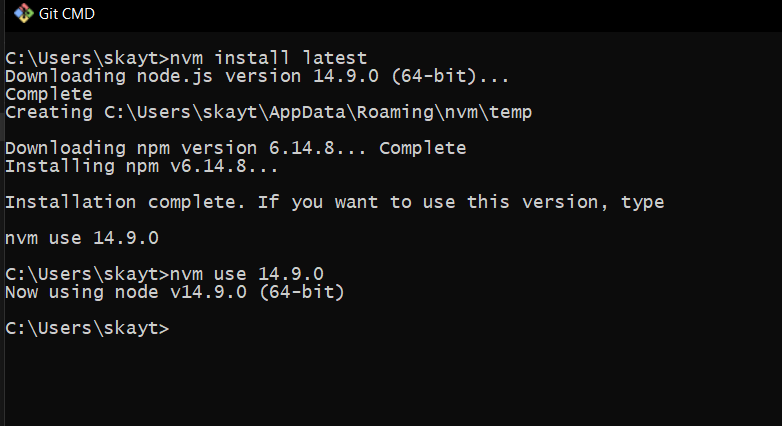
$ nvm install latest
//installs the latest version of npm
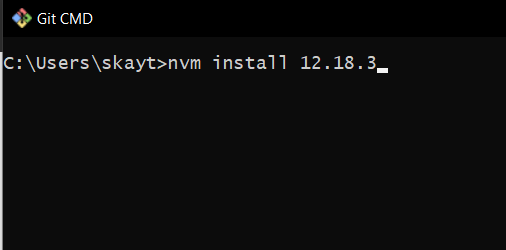
$ nvm install <<version number>>
//e.g. nvm install 12.6.8 to install a specific npm version
- Let us install the latest version of npm. (As of Sep 2020)
Specify the version of npm that you choose to use
- Using the below command to specify the version of npm that you wish to use. In our case, since we have only one version installed. Let's go with that.
$ nvm use 14.9.0
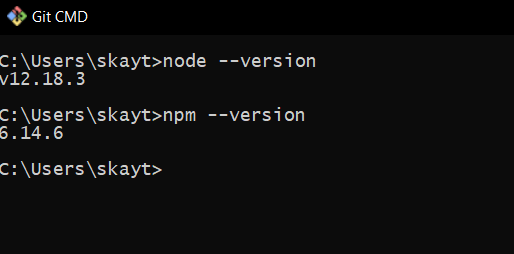
Check npm & nodejs versions
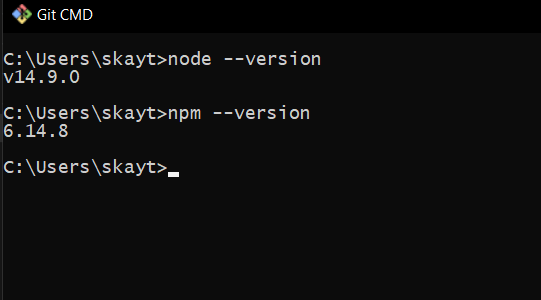
- You can confirm the nodejs and npm versions through the commands below.
//Check Node.js version
$ node --version

//Check npm version
$ npm --version
Install Another npm Version
- Repeat the above steps
- Install Completed & Select the version using the 'nvm use' command
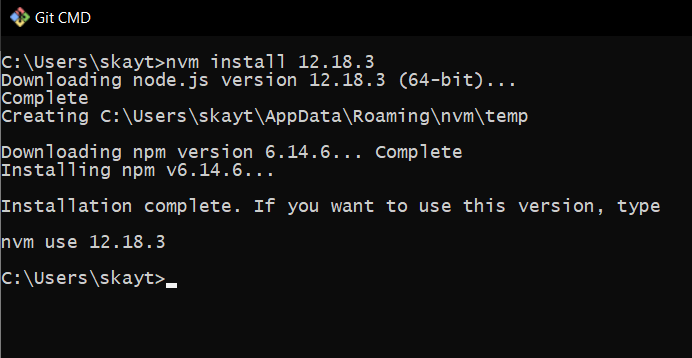
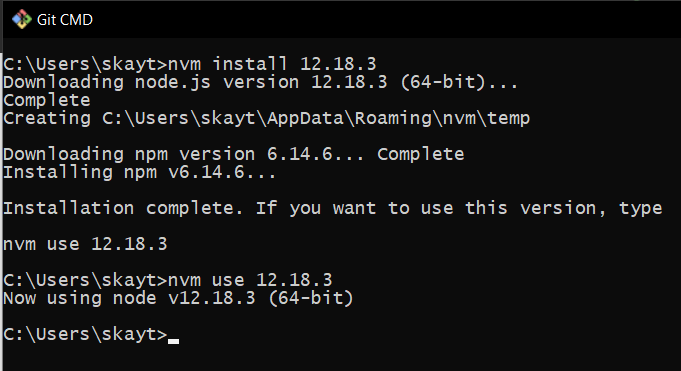
- Confirm that the environment now points to the new Node.js and npm versions
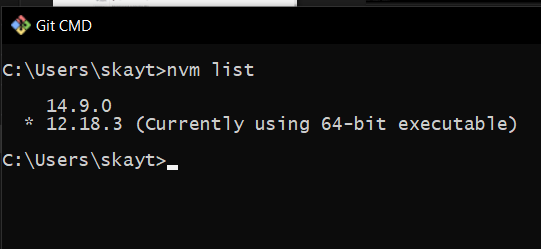
List all Versions
- You can use the nvm list command to list all the npm and Node.js versions installed.
$ nvm list
Conclusion
I hope the detailed user-guide helped you setup the Node Version Manager (nvm) in your Windows 10 machine. Thank you for reading the article and do share it if you found it useful.
Cover Photo by Christina @ wocintechchat.com on Unsplash